Manual.ly Logo

Chicco Baby Hug 4 in 1 Инструкция

0,0 · 0 Рейтинги

PDF руководство · 112 страниц

Русский

M: GO-GEM-FL-25
страница

/ 112

Loading...
c2b283e0701ef547d8f033ee65ada21c6ffd page 10
16
17
CLEANING
Clean the plastic parts with a soft damp cloth. Never use
abrasive detergents or solvents. If the highchair comes
into contact with water, dry the metal parts to prevent
the formation of rust.
MAINTENANCE
• This product requires periodical maintenance.
• Cleaning and maintenance operations must only be
carried out by an adult.
• Periodically check the product for broken, damaged or
missing parts: do not use it in this case.
• To avoid friction that may compromise the correct
functioning of the product, ensure that all the moving
plastic parts located along the metal frame are free of
dust, dirt and sand.
• If necessary, lubricate the moving parts with dry sili-
cone lubricant.
• Store the product in a dry place.
COMPONENTS
The product is completely disassembled when pur-
chased; check that all of the components listed below
are present. If any part is missing contact ARTSANA’s
CUSTOMER SERVICES.
The product and all of its components must always be
assembled by an adult.
A - Height adjustable pedestal frame
A1 - 4 wheels with brakes
B - Seat frame
C - Seat structure
D - Tubular seat frame
E - Fabric (with shoulder straps)
F - Booster cushion
G - Toybar
G1 - Light / sound game buttons
G2 - 3 soft toys
I - Upper fabric zips
L - Plastic clips
M - Height adjustment pedal
N - Backrest recline lever
ASSEMBLY
The product is not assembled when purchased. To use
it, carry out the following assembly operations:
1. The rst thing to do is assemble the “A1” wheels on
height adjustable base frame “A”. To do this place the
frame on a rug or soft surface so as not to damage the
oor or frame. Assemble the 4 “A1” wheels inserting
the pins in the 4 holes under height adjustable base
frame “A” as shown in gure 1.
WARNING: Fully insert the wheel pin into the hole in
the base. At this point the base can be rested on the
oor.
2. Insert the fasteners of seat frame “B” into the respec-
tive tubes on seat structure “C” until they click into
place (Fig. 2).
3. Assemble the seat (seat frame “B” + seat structure
“C”) on the base: insert the two tubes on base “A”
into the corresponding holes on seat frame “B” until
they click into place (Fig. 3).
WARNING: The backrest must face the height adjust-
ment pedal (I) as shown in Fig. 3a.
4. Insert tube “D” into the corresponding holes on seat
frame “B” until they click into place (Fig. 4).
5. To assemble fabric “E” line up the holes on the fabric
with the restraint system installed on seat structure
“C”. Pass the two lateral arms of seat frame “B” through
the side fabric holes (FIG. 5), insert the pins of the
arms into the holes on either side of the backrest (FIG.
5a) until they click into place.
WARNING: Check that both arms are assembled cor-
rectly.
6. Attach fabric “E” using the two perimeter zips above
seat frame “B” (Fig. 6).
7. Pass the crotch strap and waist straps on seat struc-
ture “C” through the holes of fabric “E” (Fig. 7-7a-7b-
7c).
8. Attach the fabric (E) to the bottom of seat structure
“C”, making sure to insert all of the plastic clips in the
right slots (Fig. 8-8a).
BOOSTER CUSHION
9. Reducer cushion “F” is ideal from birth and can be
used or removed as necessary. To attach it to the
seat, place it on the fabric, pass the crotch strap and
waste straps through the holes in booster cushion “F”
(reclined cradle mode), (Fig. 9). In highchair mode it
is also necessary to pass the shoulder straps through
the holes of the booster cushion (Fig. 9a).
TOYBAR
10. The toys can be attached to the toybar by passing the
straps through the plastic openings on the bar (Fig.
10) and fastening the velcro.
11. Assemble the toybar (with the light positioned to-
wards backrest recline lever “N”) inserting the pins of
the bar into the holes on seat frame “B” until it clicks
into place (Fig. 11).
12. To incline the toybar in the three possible positions
press the side buttons (Fig. 12).
13. To remove the toybar press the buttons on the inside
of the bar support and pull upwards (Fig. 13).
WARNING: Always check that the toybar is properly
fastened before using it.
WARNING: To prevent possible injury by entaglement,
remove this toy when the child starts trying to get up
on its hands and knees in a crowling position.
HEIGHT ADJUSTMENT
14. Once assembled, the product can be adjusted to
various heights in all congurations. To adjust its
height, hold down height adjustment pedal “M” (Fig.
14) and lift or lower the seat to the desired height.
ADJUSTING THE BACKREST
15. The backrest can be adjusted to four dierent posi-
tions. To do this, push down on backrest recline lever
“N” (Fig. 15).
Position 1 – Crib mode (Fig. 15a)
Position 2-3 – Reclined cradle mode (Fig. 15b)
Position 4 – Highchair and rst chair at the table mode
(Fig. 15c)
These adjustments can also be made with your child
seated in the product. In this case it will be slightly more
dicult.
WARNING: Always check that the backrest is properly
locked before use.
USING THE SAFETY HARNESS
16. With fabric “E” assembled on seat structure “B”, there
will be a crotch strap, two waist straps and two
shoulder straps (Fig. 16).
17. CRIB MODE - WARNING: Completely remove all
safety harnesses making sure to keep them out of
the reach of your child (Fig. 17).
18. RECLINED CRADLE MODE - WARNING: A 3-point
restraint system must be used: crotch strap + waist
straps (Fig. 18).
19. After placing your child in the seat, reclined cradle
mode, fasten the straps by passing the two prongs
through the crotch strap buckle; adjust the waist
straps so that they t closely around your child’s
waist (Fig. 19).
20. HIGHCHAIR AND FIRST SEAT AT THE TABLE
MODE - WARNING: A 5-point restraint system
must be used: crotch strap + waist straps + shoulder
straps (Fig. 20).
WARNING: In this conguration the toybar must al-
ways be positioned behind the backrest.
21. After placing your child in the seat in highchair
mode, fasten the straps by passing the two prongs
through the shoulder strap buckle (Fig. 21) and then
through the crotch strap buckle (Fig. 21a); Adjust the
height of the shoulder straps so that they correctly
t your child’s shoulders.
Always make sure that the straps are fastened correctly.
To unfasten the strap, press and pull the side prongs.
WARNING: When using the product, always fasten the
straps by inserting them in the crotch strap and check
that they are tight enough and properly fastened.
22. The safety harness straps can be removed (for washing
or for use in the crib/reclined cradle conguration).
To remove the harnesses pull the waist and crotch straps
out from the holes in the fabric (Fig. 22-22a-22b) until
they are hidden on the seat frame and pull the shoulder
straps out from the fabric holes on the backrest (Fig. 22c
-22d). After removing the safety harnesses, make sure
that the harnesses are correctly re-assembled.
To re-assemble the safety harnesses, carefully follow the
steps below:
23. Follow point 7 of the ASSEMBLY paragraph to re-
assemble the waist straps and crotch strap. For the
shoulder straps, pass the strap through the hole as
shown in Fig. 23, making sure that the length adjust-
er is positioned as shown in the gure.
Take the plastic hole of the shoulder straps and pass it
through the fabric ring of the harness (Fig. 23a).
Having performed this operation correctly, pull the har-

Общайтесь с руководством по Chicco Baby Hug 4 in 1 с помощью ИИ

Получайте мгновенные ответы от ИИ из руководства по Chicco Baby Hug 4 in 1

Задайте любой вопрос о Chicco Baby Hug 4 in 1. Ответы основаны на этом руководстве с указанием соответствующих страниц.

Baby Hug 4 in 1 График технического обслуживания

После каждой стирки
Проверить ткань и строчку

Проверьте прочность ткани и швов после каждой стирки, чтобы обеспечить безопасность.

Периодически
Осмотрите на предмет повреждений

Регулярно проверяйте изделие на наличие сломанных, поврежденных или отсутствующих деталей и не используйте его, если они обнаружены.

Периодически
Очистите подвижные пластиковые детали

Удалите пыль, грязь и песок с пластиковых деталей, скользящих по металлическим трубам, чтобы предотвратить трение.

По мере необходимости
Смажьте подвижные детали

При необходимости нанесите сухую силиконовую смазку на подвижные детали для обеспечения правильной работы.

M: QW-35-FL

Задать вопрос

0/1000

Вы рекомендуете Baby Hug 4 in 1?

Да Нет

Часто задаваемые вопросы

A

Ее можно использовать с рождения в режимах кроватки и наклонной люльки до 9 кг, а затем примерно с 6 месяцев в режиме высокого стульчика и первого кресла — до 36 месяцев и 15 кг.

Этот ответ полезен?

A

Нет. Наклонная люлька не предназначена для длительного сна. Если ребенку нужно спать дольше, следует использовать подходящую кроватку или кровать.

Этот ответ полезен?

A

Да. Дугу с игрушками можно при необходимости установить или снять. В режиме высокого стульчика она всегда должна находиться позади спинки для безопасности.

Этот ответ полезен?

A

Ткань следует стирать только вручную в холодной воде. Не отбеливать, не сушить в сушильной машине, не гладить и не подвергать химчистке. После стирки проверьте швы и состояние ткани.

Этот ответ полезен?

A

Да. Все четыре колеса должны быть заблокированы, когда изделие используется, чтобы повысить устойчивость и снизить риск перемещения или опрокидывания.

Этот ответ полезен?

A

Проверьте, что все детали правильно собраны, механизмы блокировки зафиксированы, ремни правильно отрегулированы, а также что ни один компонент не сломан, не порван и не отсутствует.

Этот ответ полезен?

M: GO-GEM-FL-25

Преимущества и Недостатки

Преимущества

  • Конструкция 4 в 1 растет вместе с ребенком от рождения до 36 месяцев.
  • Регулируемая высота и наклон спинки поддерживают разные ежедневные сценарии.
  • Съемная дуга с игрушками, светом и звуками добавляет развлечения на ранних этапах.
  • Съемные ткани и детали ремней, которые можно стирать, упрощают уход и чистку.
VS

Недостатки

  • Смена режимов требует аккуратной сборки взрослым и регулярных проверок безопасности.
  • Изделие всегда нужно использовать с правильной системой удержания.
  • Режимы кроватки и наклонной люльки рассчитаны на относительно короткий возрастной период.
  • Батарейки и подвижные части дуги с игрушками требуют периодического обслуживания и внимания.
M: GO-GEM-FL-25

Товар Характеристики

Вес

10,20 кг

Размеры (ШхВхГ)

850x880-1220x600 мм

Особенности

регулируемый по высоте, трансформируется в стульчик для кормления, функция мелодии

M: GO-GEM-FL-25

Описание продукта

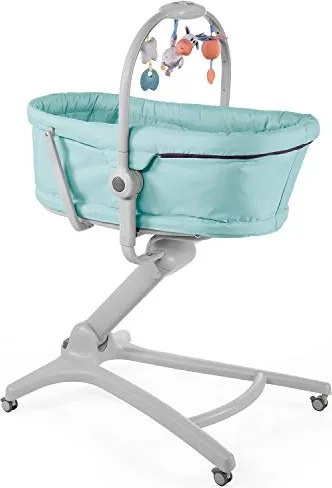
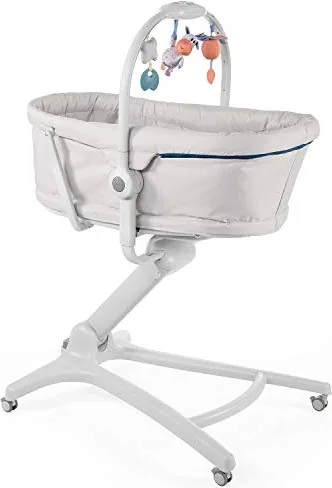
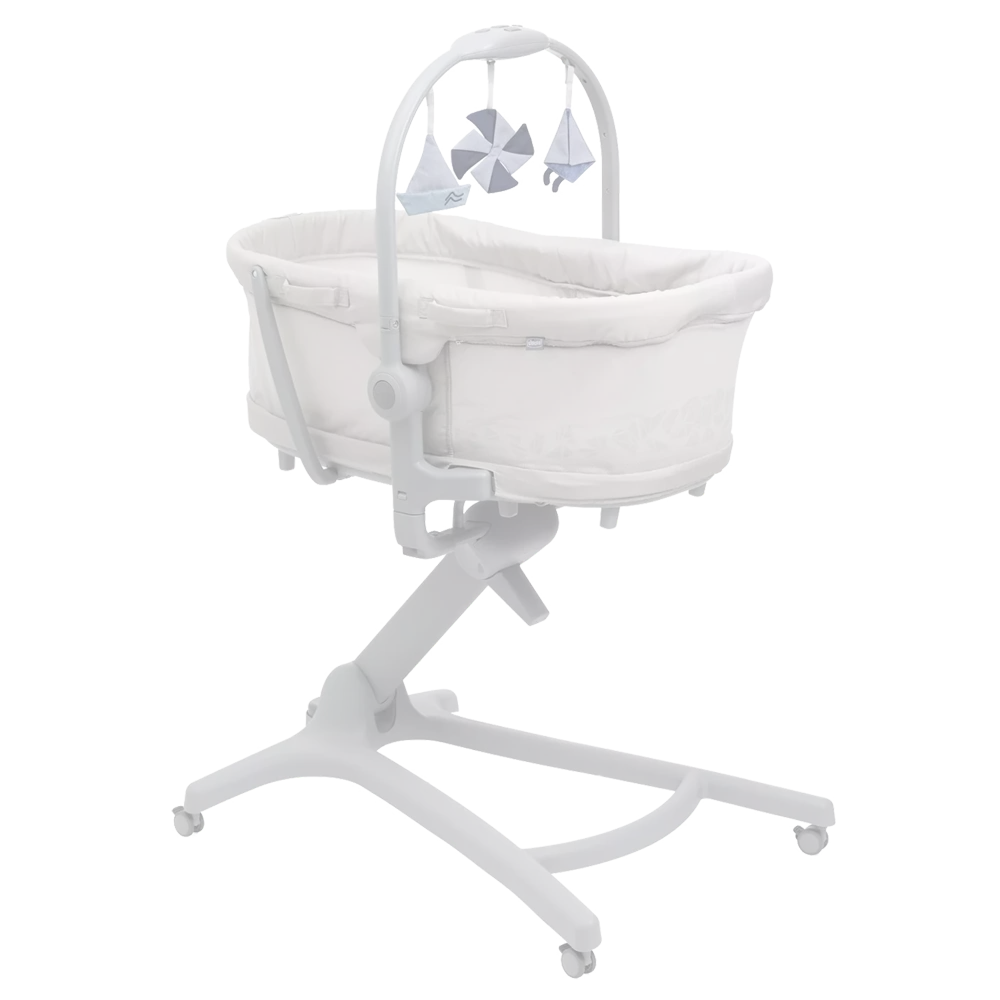
Люлька Chicco Baby Hug 4 в 1: одно умное кресло на первые три года

Люлька Chicco Baby Hug 4 в 1 выделяется как универсальный помощник для детской комнаты, который сопровождает ребенка на нескольких ранних этапах с удивительной легкостью. С первых дней дома и до возраста малыша она может использоваться как кроватка, наклонная люлька, высокий стульчик и первое кресло за столом. Такая гибкость делает ее привлекательной для родителей, которым важны компактные решения без ущерба для комфорта и практичности.

В режиме кроватки она предлагает уютное место для отдыха новорожденных до 9 кг, а положение наклонной люльки дает семье удобное пространство для спокойного, под присмотром, отдыха в первые месяцы. Позже, когда ребенок уже может сидеть самостоятельно, изделие превращается в высокий стульчик и первое кресло, подходящее для еды и повседневных семейных моментов до 36 месяцев и 15 кг. В результате получается один предмет детских принадлежностей, который адаптируется к меняющемуся распорядку, а не простаивает без дела через несколько месяцев.

Конструкция также ориентирована на удобство. Регулируемая система высоты помогает подстроить сиденье под разные варианты мебели, а спинку можно наклонять в несколько положений в зависимости от предполагаемого использования. Съемная дуга с игрушками, светом и звуками добавляет интересный элемент, особенно на ранних этапах. Для многих родителей руководство Chicco Baby Hug 4 in 1 Bassinet оказывается полезным, поскольку объясняет, как безопасно переключаться между режимами и максимально использовать каждую конфигурацию.

Еще одно преимущество — простота ежедневного ухода. Съемные текстильные элементы, ремни безопасности и поверхности, которые легко чистить, делают изделие более удобным для занятых семей. Также в конструкции сделан сильный акцент на устойчивость и присмотр: опекунам напоминают фиксировать колеса, проверять точки блокировки и использовать правильную систему удержания для каждого режима. Эти детали важны, потому что многофункциональное изделие должно быть не только практичным, но и безопасным.

Примечания

  • Лучше всего подходит родителям, которые ищут долговечное и экономящее место решение.
  • Всегда внимательно выполняйте шаги установки перед каждым переключением режима.
  • Регулярный осмотр и правильная чистка помогают сохранить работоспособность и внешний вид.
  • Дуга с игрушками интересна для младенцев, но ее следует снять, когда ребенок становится более подвижным.
M: GO-GEM-FL-25

© Copyright 2026 Manual.ly